Macarons can either be made with French (not with syrup) or Italian (sugar syrup) meringue recipe. Pierre Herme uses the Italian method, and so doea Ladymacaron20ten... therefore, I decided to start there!
Two of my failed batches were made with the french meringue method, and I didn't feel very comfortable with it. It is much easier to overbeat this batter... which makes it too runny, and then causes cracks in your little creations! The Italian method provides a little more slack for first timers... (i think they have a better texture too) So if I were you, go for the Italian method!
Before you start, prepare your baking tray and piping bag.
Baking tray... draw circle outlines (3.5cm diameter) on a few pieces of paper... I recommend using your computer and printing it out... it's a time saver. This is your template. Put these on baking tray and cover with a layer of baking paper (NOT greaseproof paper, as this is NOT the same thing)
Piping Bag... cut end of piping bag, and insert nozzle. Make sure that nozzle is firmly in.
So, here is the recipe for the Italian method...
Ingredients
For 'almond paste' For meringue
150g Ground almonds 150g caster sugar
150g Icing sugar 37ml (37g) water
55g Egg whites (Colouring of choice)
55g Egg whites
So this recipe consists of two constituents, the 'almond paste' (official name, Tant pour Tant), and the meringue.
Make almond paste...
1. Separate eggs into yolk and whites. In two small bowls weigh out EXACTLY 55g of the whites into each. (This can be fiddly, you have been warned!). One of these bowls of egg whites will be used for the paste, the other, for the meringue
2. Weigh out 150g of ground almonds.
Weigh out 150g of icing sugar.
Add almonds to food processor, and process for 3 minutes, until almonds are very fine.
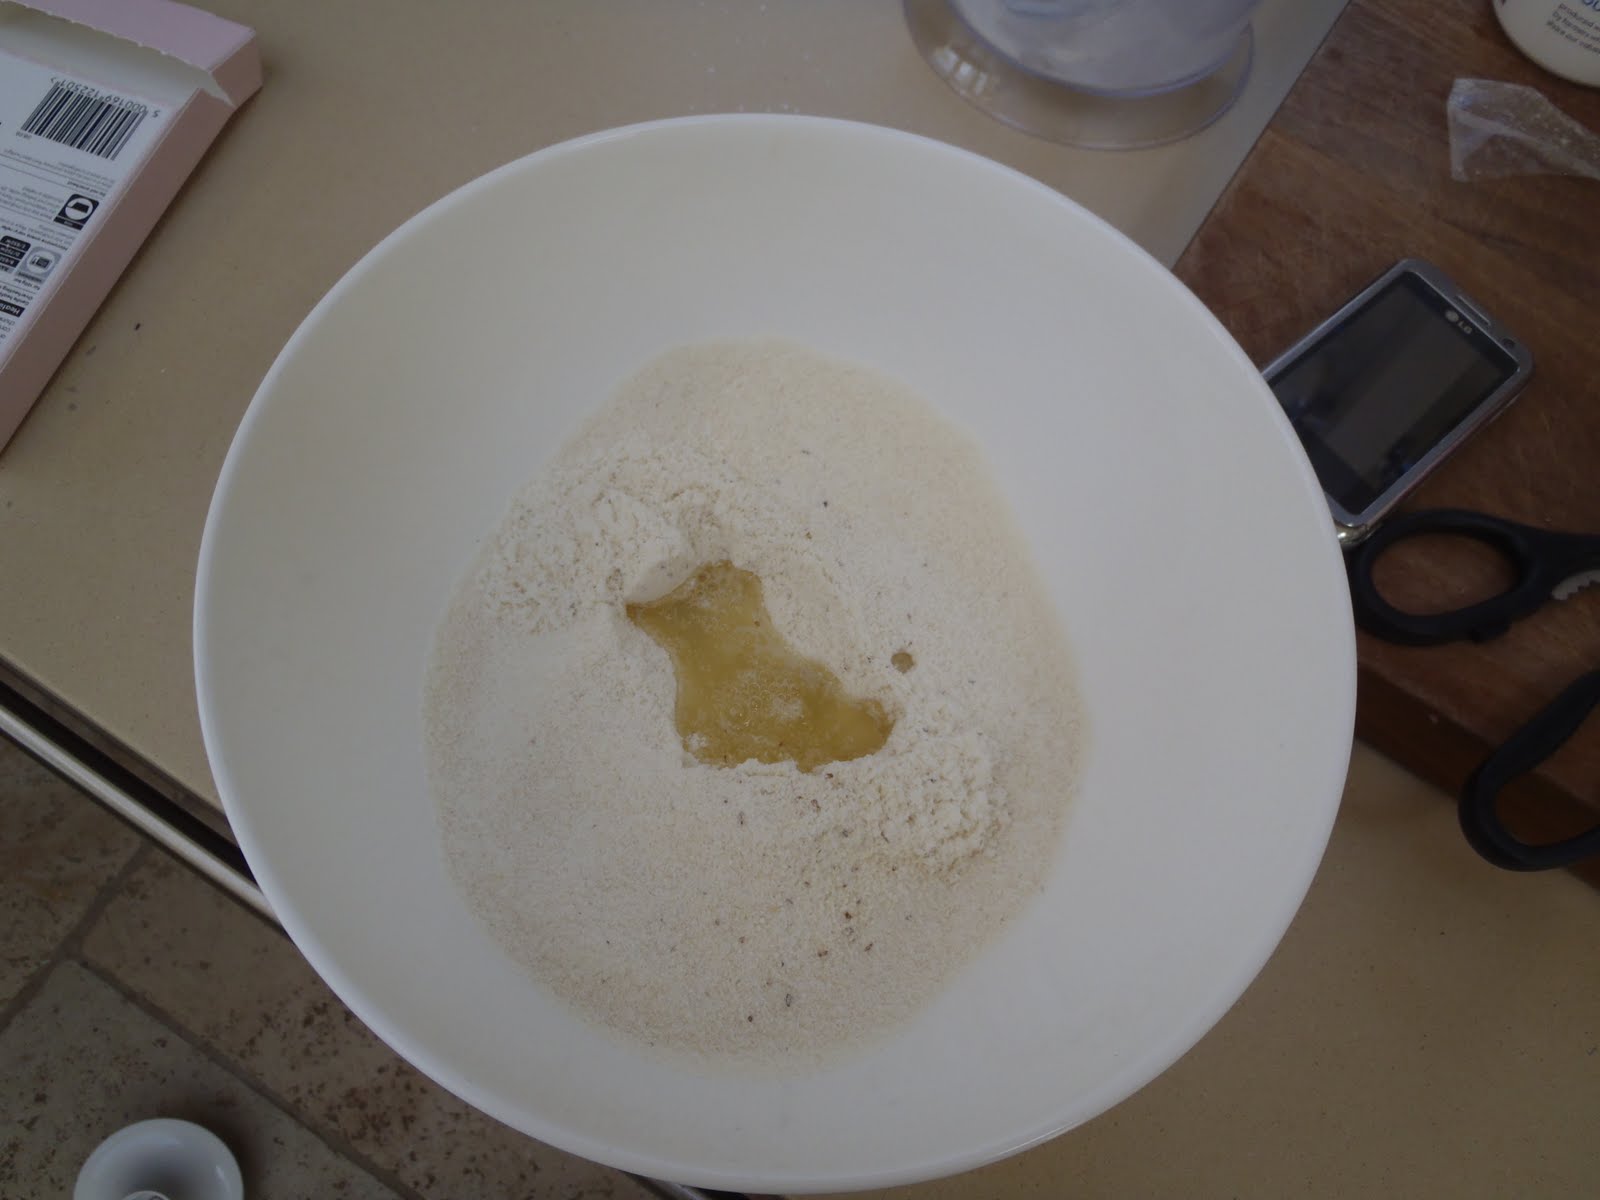
3. In a fairly big bowl (this will be the bowl containing all of batter by the end), sieve icing sugar and processed almonds, discarding leftovers. (If a significant amount of almonds remain in the sieve, add more ground almonds to compensate... common sense needed here)

4. Add one of your two bowls of egg whites to the almond and icing sugar mix. Mix together until all blended through. It may look as though you have too much powder, but keeping working it through, and I promise it will come together.


5. Cover with clingfilm, (making sure contact is made between paste and film).. this stops a crust forming on the paste.
Then move over to the meringue...
1. Pour second bowl of eggwhites into Kitchaid bowl (or large enough mixing bowl if you're using electric hand mixer). Leave to one side...
2. Measure out 150g caster sugar along with 37g water into pan. It doesn't look like 37g water will be enough, but once you place it on the heat, it will start to dissolve. DO NOT ADD MORE WATER THAN STATED.

3. Add food colouring (optional) to the pan at this stage.

4. Place pan on medium to medium-high heat. with thermometer probe inserted into syrup. Stir occasionally.
If you have never made sugar syrup before, a few tips...
- Don't whack up the heat too high. (I did once, and ended having to buy a new pan)
- The sugar will start to boil, don't panic... just keep you eye on it.
- If the temperature doesn't seem to be increasing much, then increase the heat slightly
- patience is needed
6. Once syrup reaches 115°C, Put Kitchenaid to medium speed (4-6), or the middle setting on the hand electric mixer.
7. When syrup is at 118°C, the syrup is ready, and the egg whites should be at the right consistency (soft peaks, but not too soft).
8. Then, pour your sugar syrup into your egg whites in a thin stream, keeping the speed on medium.

9. Once all sugar syrup is in egg whites, turn speed to high and keep going. Check the temperature of your meringue every minute (using your digital thermometer).
10. Once meringue mix is at 50°C, it is ready!
Combining the two....
1. Add a third of you meringue mix to the almond paste. You can be quite vigorous here. Loosen the paste and combine together.

2. Add the rest of the mix to the paste. Gently fold the meringue in until all combined. Be careful not to over mix.

3. Lift spatula from bowl, batter should fall off in 'ribbons'... this is how you know it's ready. If you are scared to overmix then just mix until all combined.
 Almost there!
 RIBBONS!!
BATTER READY.
Piping and baking...

1. Turn oven to 150°C (conventional oven) or 135°C (convection oven) (these temperatures ensure no discolouration of shells)
2. Pipe onto baking parchment using templates underneath. After piping, remove paper!


3. Bang bottom of tray a few times. This gets rid of any air bubbles in the batter. After making that racket...Leave macarons to form a 'skin' for 15 minutes. Perfect time to start doing the washing up.
4. Put macarons in oven for 18 minutes.


5. Once cooked, remove pan from oven, and move baking parchment with macarons off tray. (Otherwise they will continue to cook).

6. Leave them to cool (25 minutes should do it), then remove shells from baking paper. They should be easy to remove, and pair into like sizes.
N.B. If they don't seem as soft as you want them to be, do not fret but read on...
They are now ready to fill with your ganache/buttercream or choice. Pipe onto one shell and then put the other shell on top. Keep in airtight container and keep in fridge. It is when they are in the fridge that the shell becomes softer! The shells infuse with the buttercream and become MUCH softer. So, no fear!

ENJOY!
If you have any particular issues... leave me a comment and I will try to get back to you with solutions, as I have probable done the same mistake as you at some point!
Remember... these aren't easy, and effort and patience are needed... but you WILL make it! We all will!
Going to try this out for myself now! :D
P.S. Check out LadyMacaron20ten's blog for a brill recipe and more piccies!!!!
OMG - your macarons are absolutely AMAZING - I'm sooooo proud of you!!!! You went to all the trouble to get the right equipment - BRILLIANT - followed the instructions to a T and WOW look what you've made. From here on in there will be no stopping you. Hope your feeling better soon after your jab and have an awesome trip to Cambodia:)
ReplyDelete